-
Your shopping cart is empty!

Your shopping cart is empty!
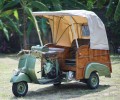
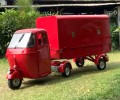
Have you ever encountered an interesting looking Vespa before? There are some riders who add attachment cart to the vintage style scooter. This cart allows for an additional rider (perhaps two little ones) on the Vespa. It is dubbed as Vespa sidecar and has been known by avid riders for a really long time. You will get to know the steps to attach a cart to your vehicle in safe manner. Let’s get to it!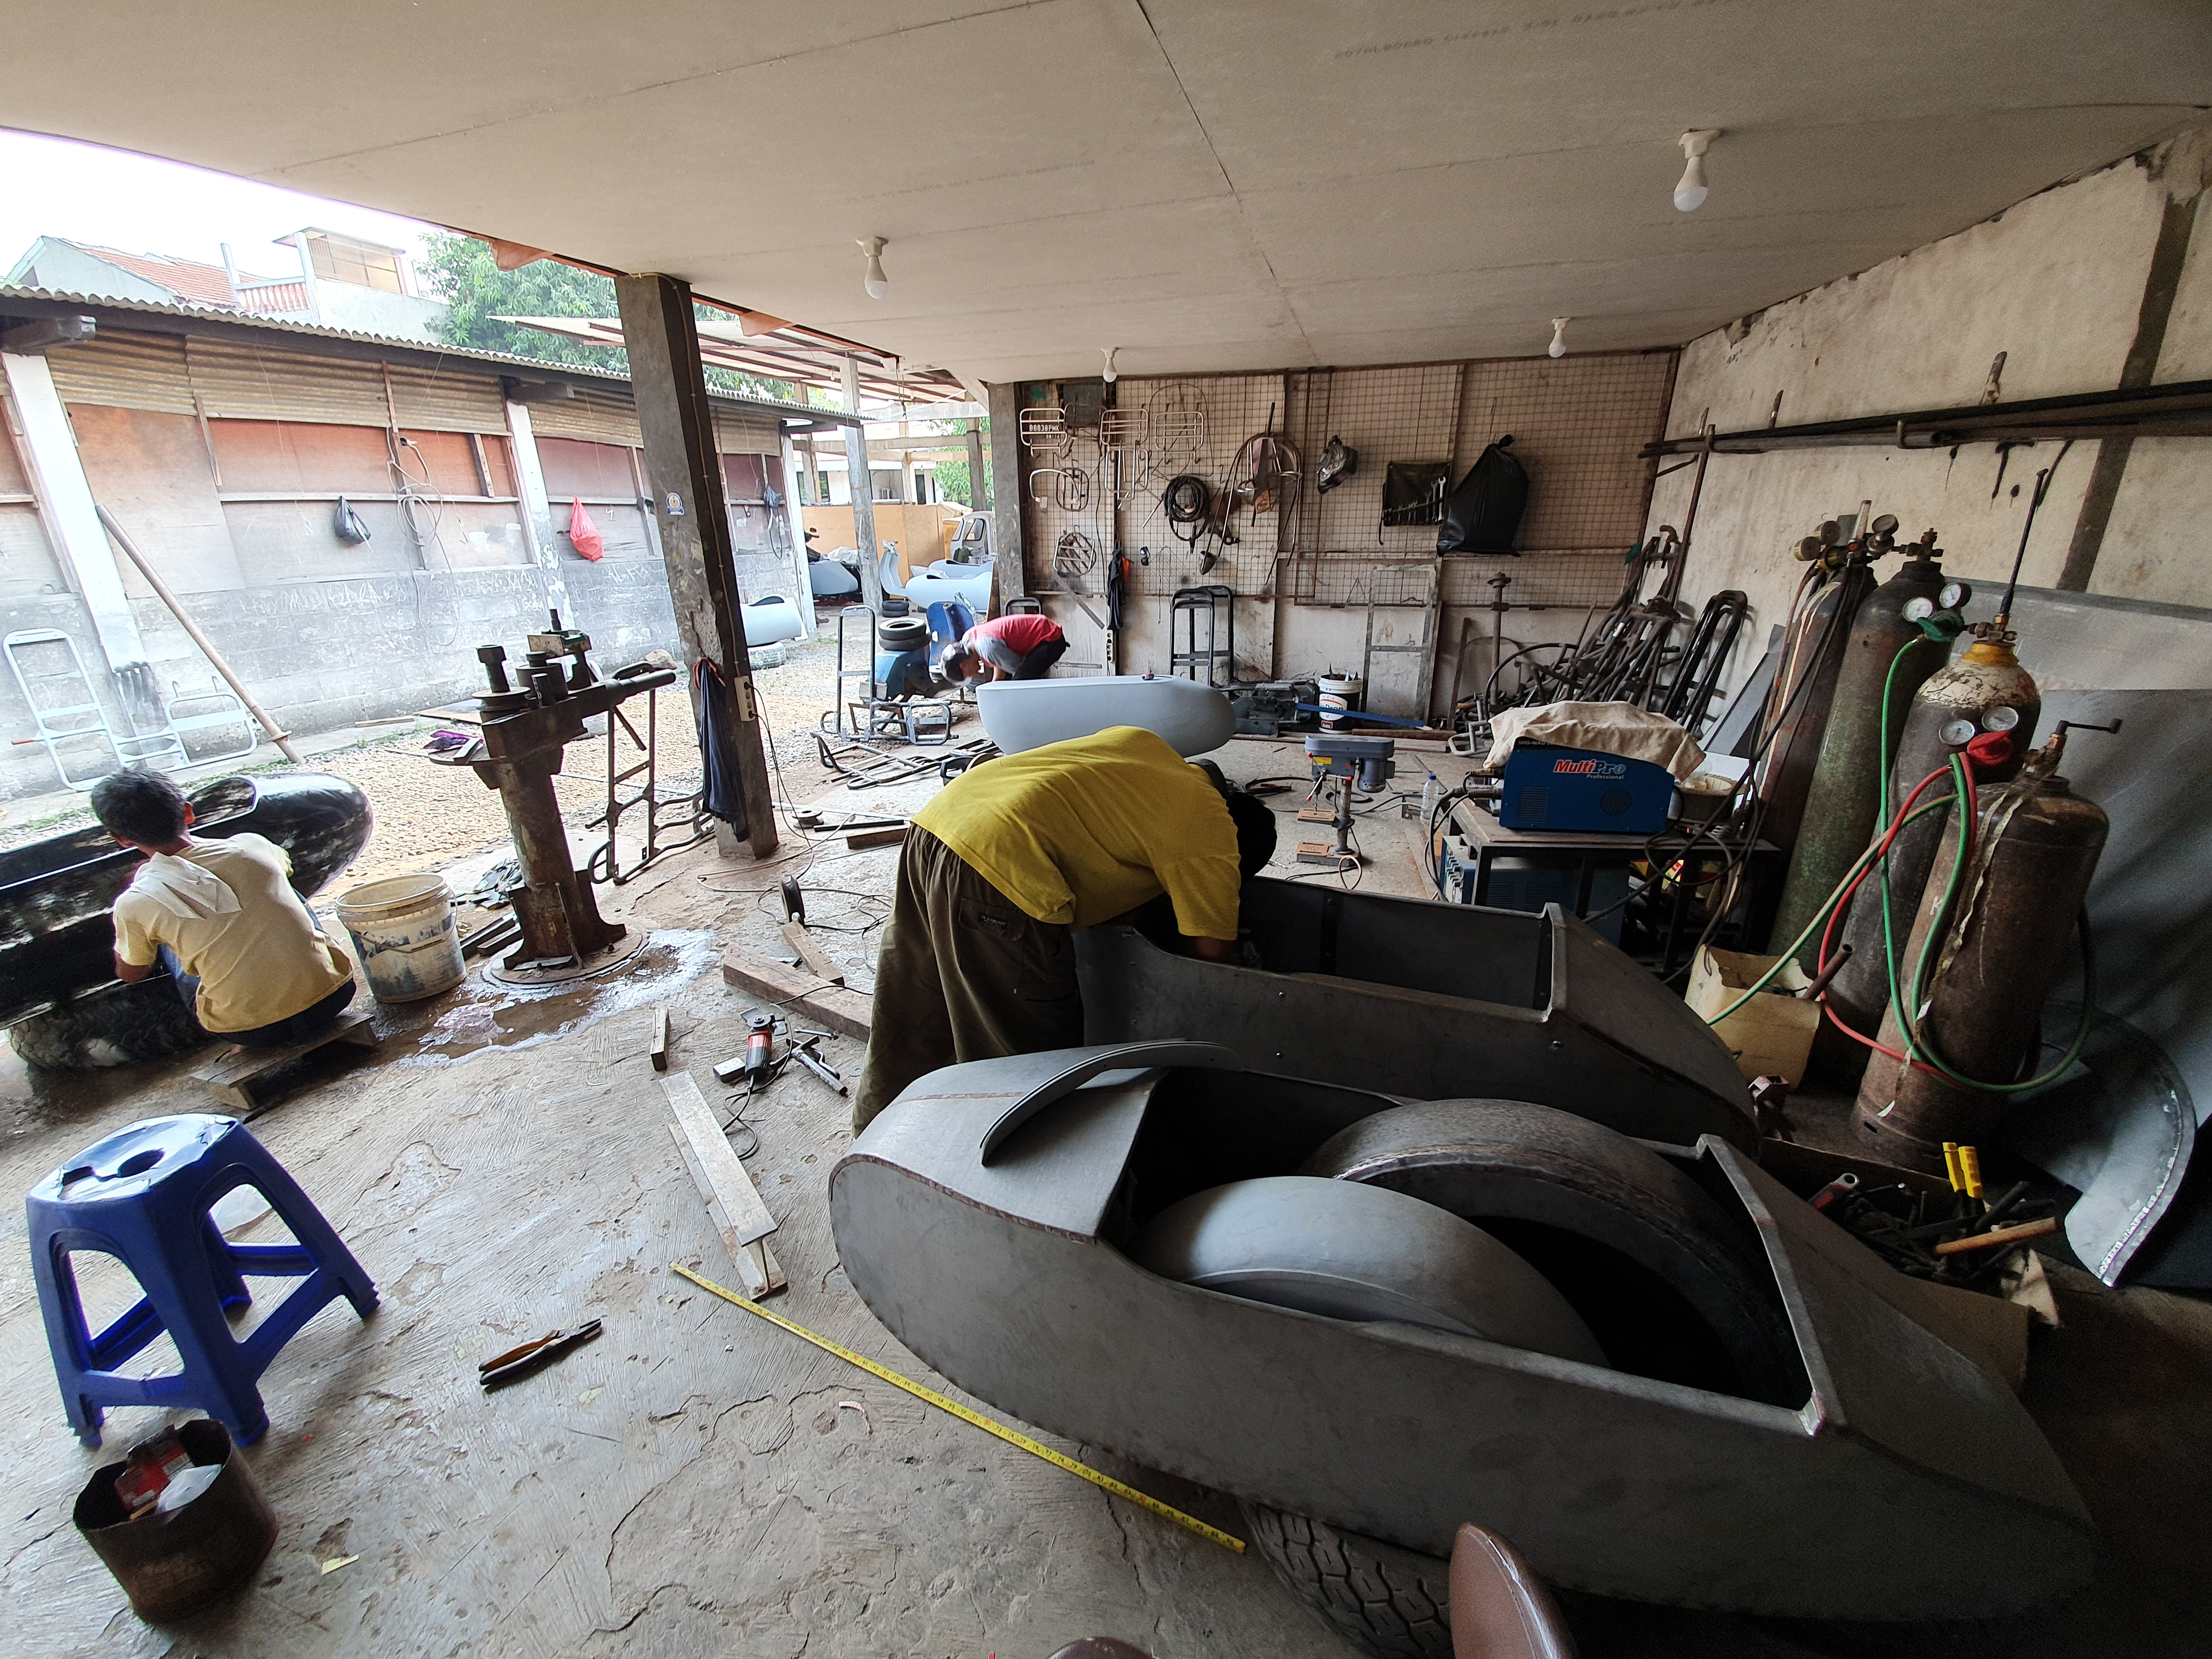
How to Attach a Vespa Sidecar to the Vehicle Safely?
The main idea for the installation of this cart is to make it as adjacent to the height of your Vespa as possible while making sure that it does not interfere with your riding by installing it as far apart. Here are the basic steps of installation. The steps are conceptual and can be applied to other vehicles too.
The first thing that you need to do before actually working on the Vespa sidecar attachment process is making sure that the vehicle is leveled. It will ensure that the attachment process will work easier for you since there is no part uneven. To do this, you need a bubble level and another person sitting up on the vehicle to compress suspension. The suspension should remain compress even after the rider has gotten off the vehicle and one way to ensure that is by using tie downs.
The next step after that is installing the mount. As you know, there are two bottom mounts and two top mounts for the cart. You need to make sure that the height is adjacent to the vehicle’s height. The bottom mounts should be installed as low as possible without disturbing your ride when it is fully installed later. Meanwhile, the top mounts should be as high as possible to your Vespa frame. You have to make sure that the mounts are installed crossing over the other side of your vehicle in order to provide better integrity.
The next step to install Vespa sidecar is to attach your wheel lead and toe in. There is a specific range for wheel lead installment, which is about 10% to 15% as close to the wheel base of your vehicle. The calculation is done from the back to front axles. This might be a challenging step and perhaps impossible to be performed by an amateur. Once it is set, then you can lock your system by tightening the bolts.
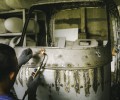
From here, your Vespa sidecar starts to take shape. You need to install the frame around the mount and the wheel lead. This step must be done very carefully as to not damage the frame of your sidecar. Usually, there is a specific cart for a certain Vespa model. Thus, as long as you have installed the mount, wheel lead, and toe in properly it should not be a big problem.
The next thing that you have to do is checking the structure of your vehicle after it has received Vespa sidecar installation. You need to make sure that there is no loose part. Perhaps you even need to do a test drive to see if there is any issue with riding on your vintage scooter after the attachment.
Of course, the steps mentioned above are the simplified version of Vespa sidecar installation. In reality, it takes skills and patient to actually install the cart from scratch. Luckily, you will find a workshop that sells you the attachment and provides you an installation service. Having sidecar installed by a professional ensures that it will remain safely attached to your vehicle for safe ride
-120x100.png)